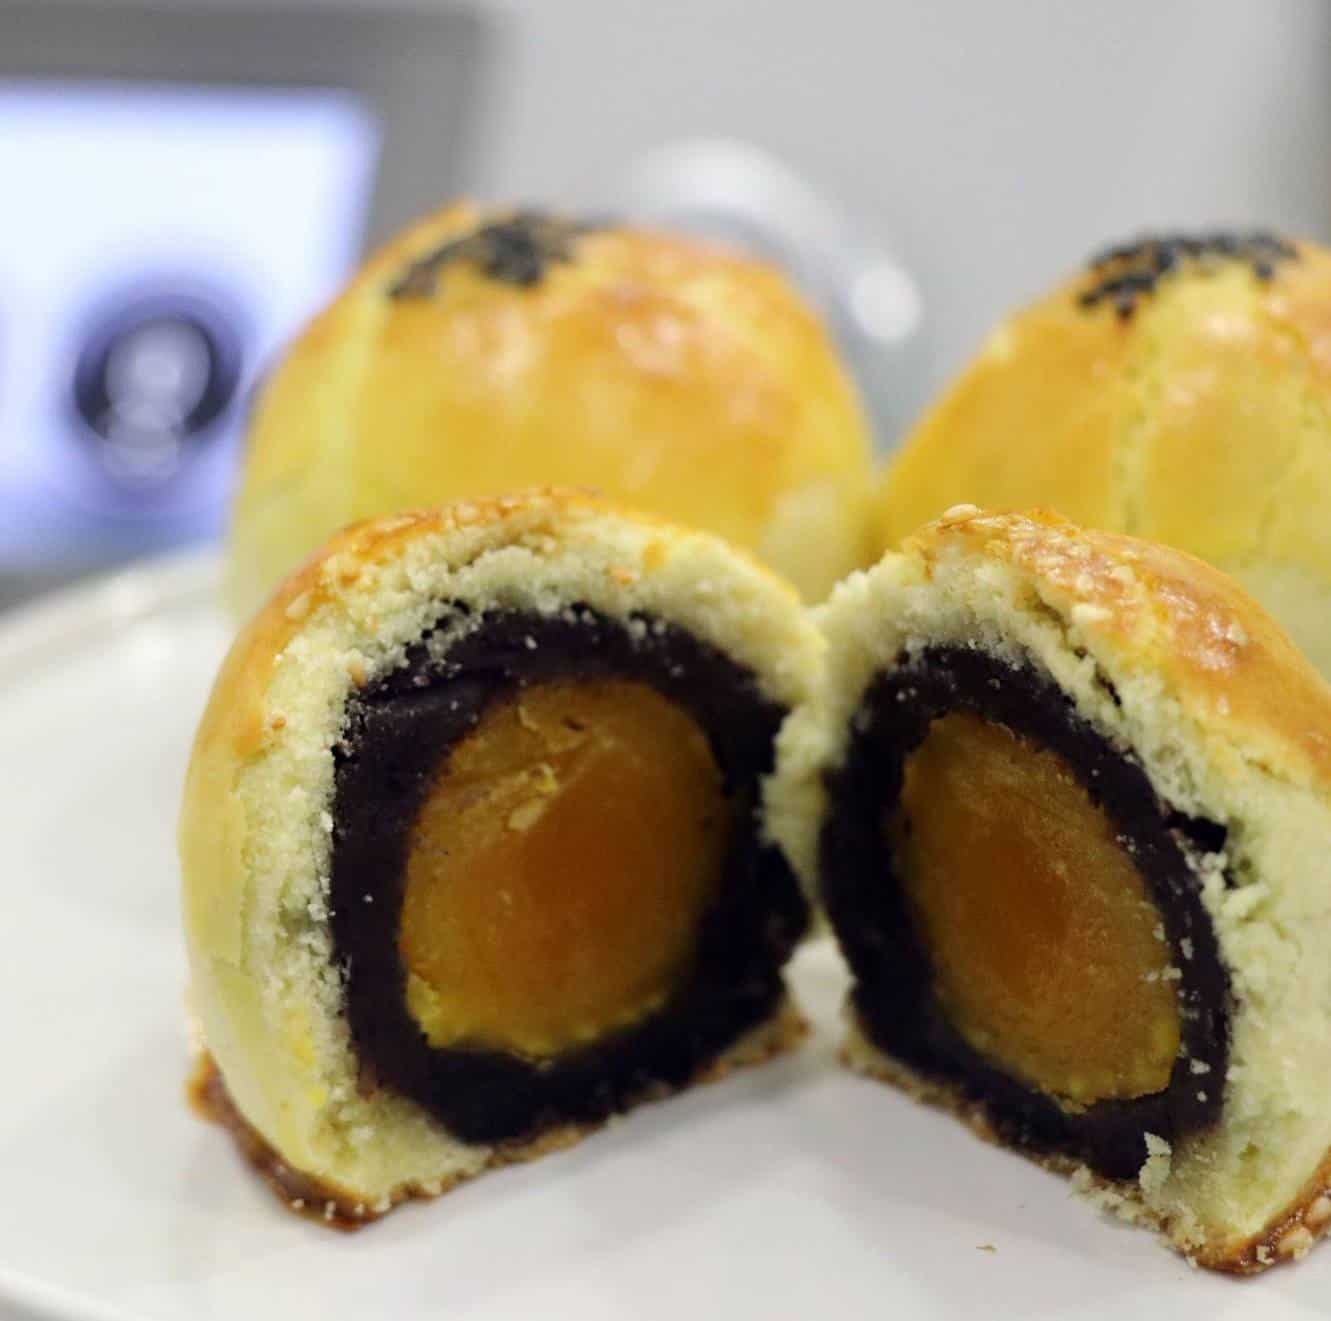
The Shanghai Cheese Mooncake is one of the mooncakes which is popular among many who love its savoury shortcrust and sweet lotus filling which gives it the perfect flavour balance. With just one bite into its crispy and flaky crust, your sense of smell will first be overwhelmed by an aromatic scent of butter, and as you continue biting into the Shanghai Cheese Mooncake, you will get a taste of that sweet lotus seed paste filling at first, followed by a savoury salted egg yolk in the middle to create a flavour bomb in your mouth! However as can be seen on TV, making mooncakes is not a simple feat. but fret not, with the aid of the multifunctional Thermomix® appliances, you can easily whip up this delectable traditional pastry all in the comfort of your own home.
There are so many types of ingredients and methods involved and most importantly, the temperature in which the mooncakes are baked is the most crucial part of the whole baking process! Even though baking a mooncake is not easy, well through the traditional way, with Thermomix®, you can rest assured in creating a perfect mooncake from scratch! In this mooncake recipe, we will be giving you two filling options for the Shanghai cheese mooncake which are the traditional lotus seed filling or the red bean filling, both of which have a good balance of flavour and texture to accompany its crispy and flaky crust. Most importantly, you can even control the level of sweetness to your preferred taste.
It is not a secret that the Chinese community celebrate Mooncake Festival every year and although there may be a lot of different types of mooncakes offered each year, the Shanghai cheese mooncake remains a favourite among the people. It’s one of a kind buttery flavour of the flaky pastry is what makes it so irresistible. Not only that, with the added hint of cheese seeping through once you bite into the mooncake, it creates a savoury and sweet combination of flavour which is guaranteed to overwhelm your taste buds.

Even though the Mooncake Festival is celebrated in different parts of the world, isn’t it such a wondrous thing to be able to taste mooncakes of different regions at the comfort of your own home all with a single appliance, the multifunction Thermomix? Mooncakes are often given out to friends and family because the rounded shape of a mooncake symbolizes togetherness and completeness. As with Thermomix, not only is it able to combine the food culture from different regions, it is also able to bring together families through the joy of cooking and sharing of food.
Before we get into the recipe, let’s go on a ride on the origins of the Mooncake Festival and how it came about. The mooncake festival was believed to have started about more than two millennia ago when people used to thank the gods for their bountiful harvest as a part of their post Autumn harvest celebrations. Meanwhile, historians believe that the origins of this celebration owes it all to the Zhou dynasty when people would worship the moon as they believed that through this practice, they will be granted a bountiful harvest the following year.
Then during the Song dynasty, the moon worship practice turned into a traditional Chinese custom when the emperor of that era, Emperor Tai, declared the day of the moon worshipping day the “Mid-Autumn Festival”. From then on, this custom kept developing through the various different dynasties to come and during the Yuan Dynasty, the tradition of eating mooncakes became a part of the Mid-Autumn Festival practice even though during this era, mooncakes were simply passed around for those who wanted to rebel against the Mongols who took reigned back then.
Meanwhile during the Ming and Qing dynasties, the Mid-Autumn Festival peaked among the citizens as a celebrated holiday which was on par with Chinese New Year and ever since then, people started promoting various activities to go with this festival and it soon developed into what it is today. Similar to most Chinese festivals, a folk tale in relation to the Mid-Autumn Festival soon began surfacing, namely the Legend of Chang’E and Hou Yi, The Archer. To wrap it all up, this festival have gone through numerous era and changes to reach to what it is today and since then, although the meaning and the objective of the festival has somewhat changed a little, what’s important is that this festival not only brings people together but also provides a reason to share the different types of food culture from various Chinese community in different regions.
To give you a general idea of what differentiates Shanghai mooncake from other regions is mainly its buttery shortcrust pastry exterior. While most region’s mooncakes are often baked with a soft and aromatic exterior, the Shanghai mooncakes are often baked with a crispy and flaky type of exterior. Because of that, not only adults, but kids love this type of pastry as well.
Well that’s enough on the history of Mooncake Festival, let’s get back to mooncake making. Although there are many ways and renditions of making the Shanghai cheese mooncake, with one of them incorporating salted egg yolk and chicken floss into the center of the mooncake or making it with jujube filling, however, the recipe provided here will be one of the simplest ways to make the Shanghai shortcrust cheese mooncake. Although it may be simple, we can assure you that it tastes just as good. Let’s get started then!
Shanghai Cheese Mooncake Recipe
Ingredients for Lotus Seed Paste filling
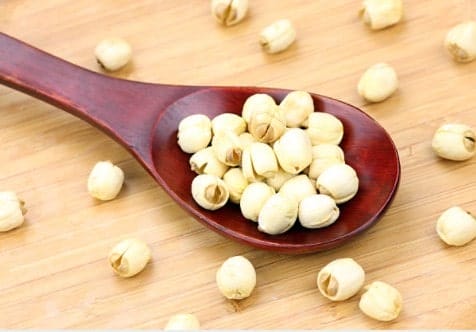
200g White Lotus Seeds, soaked for 1 hour, and have the green embryo removed
300g Water
105g Sugar
155g Peanut Oil
20g Maltose
Ingredients for Red Bean Paste filling
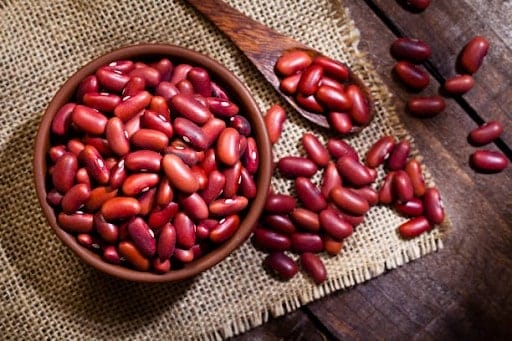
300g red bean, soaked overnight
200g of sugar
1200g water
50g maltose
80g oil
Ingredients for the Shanghai Cheese Mooncake Skin
Ingredients Group 1:
120g butter
40g cream cheese
70g icing sugar
¹/2 pc egg
½ tsp vanilla essence
Ingredient Group 2:
200g plain flour
40g custard powder
30g milk powder
Instructions

White Lotus Seeds 
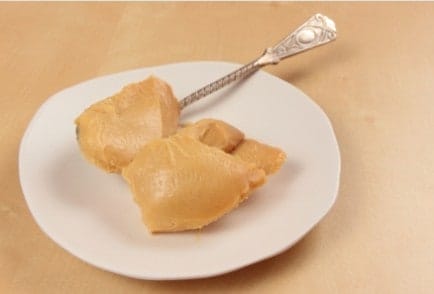
White Lotus Seed Paste
For White Lotus Seed Paste:
- To prepare the white lotus seed paste, firstly, cook the white lotus seed paste in Thermomix at 100°C for 15 minutes at speed 1.
- Once the white lotus seed paste is cooked, add in sugar and blend it together for a minute at speed 6.
- After that, add a 100g of peanut oil into it and cook the mixture at 100°C for 15 minutes at speed 3.
- Once done, add the remaining 50g of peanut oil into the mixture and cook it for 15 minutes at 100°C at speed 3. During the last 5 minutes of cooking, add in maltose and set aside the mixture to cool once done.

Red Beans 
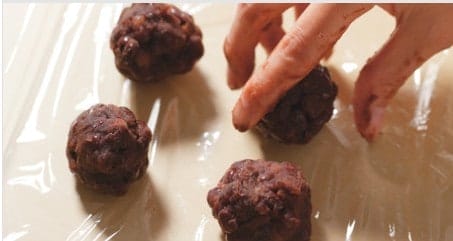
Red Bean Paste
For the Red Bean Paste:
- Whereas to prepare the red bean paste, pour the soaked red bean into a simmering basket inside of the mixing bowl in the Thermomix appliance, then pour water inside and cook the red bean at 120°C for 60 minutes at speed 3.
- Once done, drain out the water and reserve about 100g of the red bean water and set it aside.
- In the red bean water reserved in the mixing bowl earlier, add in the cooked red bean and sugar and then blend it in Thermomix for 1 minute at speed 8.
- After that, cook the mixture 10 100°C for another 15 minutes at speed 4. While the mixture is cooking, slowly add in the maltose and oil through the lid hole.
- Set the mixture aside and let it cool once done.
For the Shanghai Cheese Mooncake Skin:
- Preheat the oven at 160°C beforehand.
- Place the ingredients from ingredient group 1in to the Thermomix TM Bowl and mix for 30 seconds at speed 4.
- Then, add in ingredients from ingredient group 2 and mix for 30 seconds at speed 4.
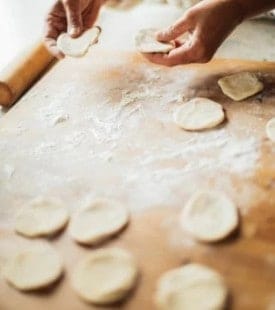
- After that, divide the dough into 35g each and flatten with a roller pin.
- Divide the lotus seed paste and red bean paste filling from earlier into 65g each and wrap it in the flatten dough. If you planned on adding an egg yolk at the center of the mooncake, wrap about 50g of filling paste instead.
- Shape the dough into a nice rounded pastry dough and brush a thin layer of water on the pastry dough. Sprinkle some sesame on top of each mooncake and bake them in the oven at 160°C for 15 minutes.
- After the 15 minutes is up, remove the baking tray and brush a layer of egg wash (a milk and egg mixture) on top of each mooncake for that gleam and place it in the oven to bake for another 10 minutes or until the top is nicely browned.
- Once done, serve warm for the best mooncake tasting experience.
Tips:
💡: As the mooncakes contain no preservatives, they are best eaten within 2 days or stored in the fridge and reheat gently in the oven prior to serving.
