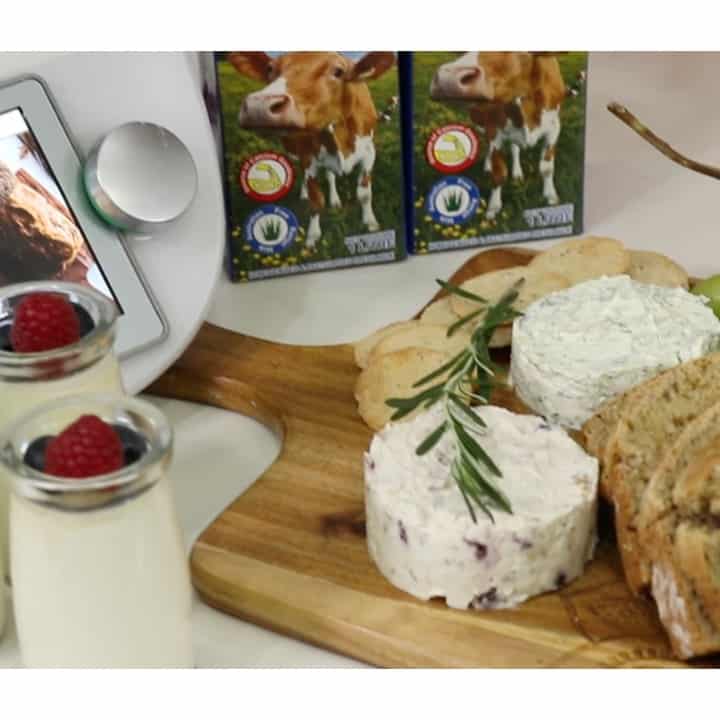
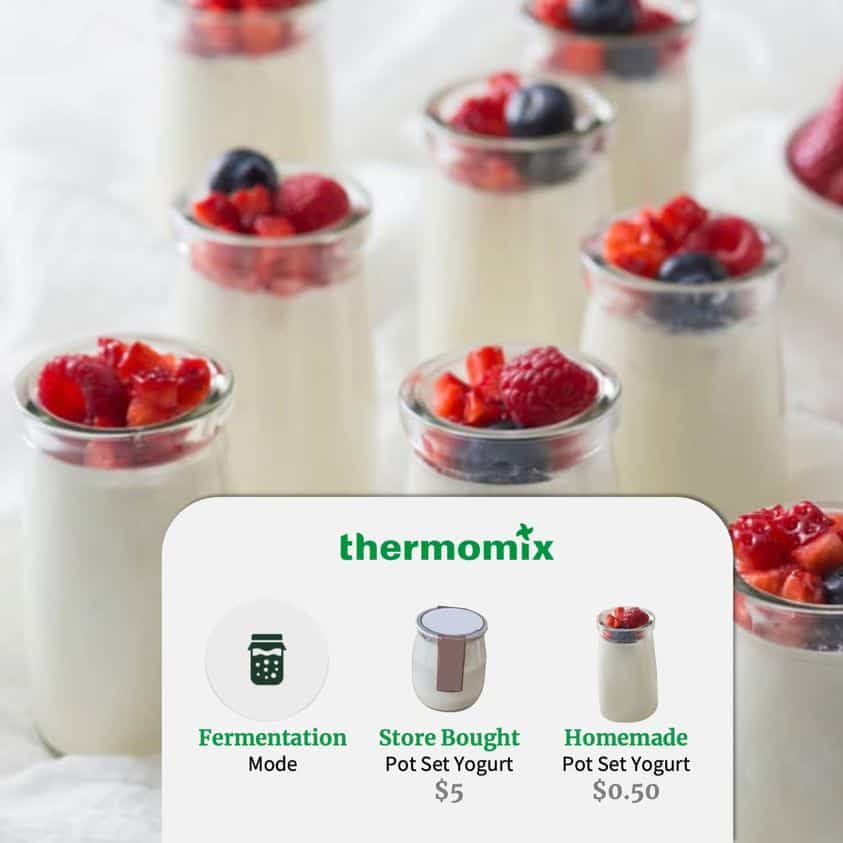
Start your day with homemade yogurt ![]() now! It’s cheaper, healthier and tastes better when it’s homemade with love.
now! It’s cheaper, healthier and tastes better when it’s homemade with love.
Have you ever wonder how to ferment your own food? Try using the Fermentation mode in Thermomix® to make yogurt, cheeses and cakes.
It’s easy and almost hands-free while the long process is taken care of by Thermomix® for you.
Fermented food contains probiotics and other forms of good bacteria that are essential for a healthy gut.
A healthier digestive system can have long term impact for good health.
Make some healthy yet delicious fermented food such as Yogurt, cheese, whey bread, sauerkraut, Idli, and huat kuehs using Fermentation mode on your Thermomix®. It’s unbelievably easy, follow the recipe, make the mixture, and leave it to ferment at a consistent temperature in the Thermomix® while you sleep through the night or get about with other matters. When the time is up, your gut-friendly fermented food is ready!
Check out these other fermentation recipes using Thermomix Fermentation cooking mode :
Huat Kueh | Traditional Steamed Cakes | Prosperity Cakes
Indian Breakfast (suitable for Deepavali) with Idli, Chutney, Sambar and Kesari
![]() Fresh Cheese
Fresh Cheese
Ingredients
• 1500g Cowhead Fresh milk
• 200g sour cream
• 240g water, plus extra, boiling, to soak walnuts
• 28g lemon juice
• 113g shelled walnuts
Directions
1. Place milk and sour cream into mixing bowl and warm 5 min/40°c/speed 1. Transfer to a ceramic or glass dish that fits into Varoma, cover with cling wrap and place into Varoma dish, ensuring not to block air vents.
2. Place 240g of water and lemon juice into the mixing bowl. Set Varoma into position, secure Varoma lid and start Fermentation mode for 8 h/70°c. Set Varoma aside.
3. Place a small bowl onto mixing bowl lid, weigh in walnuts, cover with boiling water and leave to soak for 5 minutes. Meanwhile, continue with recipe4.
4. Due to insufficient time to finish off the process live, we have made a batch prior to the show. After it is done, we will need to line the simmering basket with a cheesecloth and place it on top of a bowl.
5. Place a small bowl upside down into the bottom of a large bowl. Carefully pour fermented milk into simmering basket. Cover with cheesecloth, place a small plate on top of the cheese, add a weight on the plate (see Tip) to press the cheese. Leave to drain (approx. 3 hr.).
6. Reserve liquid (whey) in the bowl and set aside to make our bread7. Transfer cheese with cheesecloth to a small bowl, press lightly to give shape and refrigerate until needed. Empty mixing bowl.![]() Whey Bread
Whey Bread
Ingredients
• 320g bread flour
• 113g whole wheat flour
• 56g oil, plus extra to grease
• 6g sugar
• 1 large egg
• 6g baking soda
• 6g salt
• honey, to drizzle (optional)
• 310g Whey (or 110g whey, 100g Water Kefir, 100g Kombucha)
• 30g of mixed nuts and seeds
Directions
1. Place 310g of the reserved whey, bread flour, whole wheat flour, oil, sugar, egg, baking soda and salt into mixing bowl and knead Dough mode 3 min. Meanwhile, preheat oven to 180c. Grease a loaf pan and set aside
2. Transfer the dough to prepared loaf pan and bake 35-40 minutes
3. Allow to cool in pan (approx. 10 min.) before removing from pan. Allow to cool completely on a wire rack
4. Plate sliced Whey Bread with Walnut Fresh Cheese, drizzled with honey .![]() Creamy Vanilla Yogurt
Creamy Vanilla Yogurt
https://cookidoo.international/recipes/recipe/en/r501701
Ingredients
• 55 g natural yoghurt (see Tips)
• 1000 g Cowhead fresh milk (see Tips)
• ½ vanilla bean, pod split (see Tips)
• 50 g full cream milk powder (see Tips)
• 40 g caster sugar (optional)• 250 g water
• 30 g lemon juice (see Tips)
Directions
1. Place a small bowl onto mixing bowl lid and weigh yoghurt into it. Set aside.
2. Place milk and vanilla bean into mixing bowl and heat 10 min/80°C/speed 3, without measuring cup. Allow to cool in mixing bowl until temperature drops to 45°C (approx. 45 minutes – see Tips).
3. Remove vanilla pod and scrape seeds into bowl with reserved yoghurt. Add a little of the cooled milk and stir to combine. Add yoghurt mixture, milk powder and sugar (optional) into mixing bowl, then mix 5 sec/speed 4. Divide between 8 small glass jars (120 ml – see Tips), seal with lids, then place into Varoma dish. Rinse mixing bowl.
4. Place water and lemon juice into mixing bowl. Place Varoma dish with jars into position, secure Varoma lid and start Fermentation mode /10 h/70°C. Remove Varoma, then place yoghurts into refrigerator for a minimum of 2 hours or until completely chilled before serving (see Tips).
Hints & Tips
• We used a natural Greek-style yoghurt. It’s important to use a yoghurt containing live, active cultures (be sure to check the label) and we recommend using one without any added additives or stabilisers.
• The type of milk used will affect the thickness of your yoghurt (full cream milk yields the best result). If milk has formed a skin on the surface while cooling, remove and discard. The addition of milk powder also results in a thicker yoghurt.
• Keep the other half of the vanilla pod to make vanilla sugar or use in another batch of yoghurt.
• To protect against the possibility of rust, 30 g freshly squeezed lemon juice (½ lemon) must be added to the water in the mixing bowl when heating water for more than 4 consecutive hours.
• Before starting your yoghurt, be sure to clean your utensils thoroughly and sterilise jars to eliminate any unwanted bacteria.
• To check the temperature of your milk while it cools, simply place the mixing bowl back into the Thermomix base and it will register the current temperature.• For a thicker yoghurt, line the simmering basket with a nut milk bag or 2 layers of muslin cloth. Place over a large bowl or jug and strain for 2 hours or overnight. The longer you strain it, the thicker it will become.
• You can store yoghurt in sealable jars in the refrigerator for up to 1 week.![]() Sauerkraut
Sauerkraut
Ingredients
• 450-500g glass jar x 2
• 800g cabbage• 1 TBSP sea salt
• 1 tsp dried juniper berries
• 1 tsp caraway seeds
Directions
1. Add half of the cabbage, chop 5sec / speed 4
2. Chop the other half portion of the cabbage
3. Remove the cabbage into a large glass bowl
4. Add the salt and use your hands to knead
5. Add the seeds and berries
6. Spoon the content into the 2 glass jars
7. Place the jars into the varoma dish
8. Activate Fermentation mode 70c / 12 hours
9. Leave on the counter and continue fermentation at room temperature for another 48 hours.
10. Serve immediately, leave for further fermentation in the jar (see Tip) or tighten lid and store in refrigerator (see Tip).
Hints & Tips
• After the Thermomix® fermentation, sauerkraut is ready to eat, however for a more intense flavour keep on counter and let ferment at room temperature for another 48 hours. After this time, store in refrigerator.
• Start with fresh vegetables. Wash all surfaces and containers that will be used with hot sudsy water and rinse well with very hot water before use. To ensure preservation, clean jar and lid thoroughly in hot soapy water. Rinse by pouring boiling water over them. Prepare for filling by placing clean jar and lid in a baking pan and heat in oven at 212°F until required.• Pour cabbage mixture into jar while jar is still warm.
• Place jar in refrigerator to stop fermentation, making sure cabbage remains submerged in liquid.
• The fermenting container should not be metal or have scratches or cracks which could harbour harmful bacteria. Some metal containers (other than stainless steel) may react with the acid in the food and give it a strange flavour or colour and could leach into the food.
• Use the amount of salt called for in the recipe as it is essential to its safety (texture and flavour). Do NOT reduce or eliminate the amount of salt as it is essential to the safety of the fermentation process.
• Fermented foods can be stored for up to three months, or longer, without losing their quality and good taste. Fermented food needs to reach a pH level of 4.6 or lower (which indicates it is acidic enough to be safe). After fermenting, products must either be stored in the refrigerator or canned properly.Try not to disturb the vegetables during fermentation to reduce the amount of oxygen reaching the vegetables so that mould doesn’t develop. After fermenting, be sure to handle fermented foods with clean hands and do not let them come into contact with contaminated meat or fish or surfaces that have not been adequately cleaned.
• Thermomix® enables a stable environmental temperature, which is important for the fermentation process.
Have you experienced Thermomix® yet? Book your personal cooking experience.
Get Thermomix® TM6 with the latest offer.